
A new boiler can make a home warmer, quieter and more efficient, but it is not a normal DIY job. In the UK, any work involving gas appliances must be carried out by a Gas Safe registered engineer. If your boiler is oil-fired, electric, LPG or part of a more complex heating system, you still need a qualified professional who understands the appliance, the controls and the safety requirements.
That does not mean homeowners have no role to play. The best installations happen when the practical decisions are made before the engineer arrives: choosing the right boiler, clearing access, checking the pipework, planning controls and understanding what will happen on the day. Here is a clear eight-step guide to fitting a new boiler safely and smoothly.
Step 1: Confirm That a Replacement Is the Right Move
Before booking an installation, make sure the old boiler really needs replacing. Frequent breakdowns, rising energy bills, noisy operation, poor hot water performance and trouble finding spare parts are all common signs that a new boiler may be worthwhile. Age matters too. Many boilers last around 10 to 15 years, but condition, servicing history and water quality can shorten or extend that lifespan.
A heating engineer can assess whether a repair, system clean or control upgrade would solve the problem. If the boiler is unsafe, inefficient or no longer economical to maintain, replacement is usually the sensible route.
Step 2: Choose the Right Boiler Type
If you are planning a wider refresh, kitchen ideas for cooking spaces is worth keeping open alongside this guide.

The right boiler depends on the size of the property, the number of bathrooms, hot water demand and the existing heating layout. A combi boiler heats water on demand and is a popular option for smaller homes because it does not require a separate hot water cylinder. A system boiler works with a cylinder and is often better for homes where several taps or showers may be used at once. A regular boiler, sometimes called a heat-only boiler, is usually found in older systems with tanks in the loft and a hot water cylinder.
Do not choose only by price. A boiler that is too small will struggle in winter, while one that is oversized can cycle inefficiently and wear faster. Ask your installer to calculate the correct output rather than simply matching the old appliance.
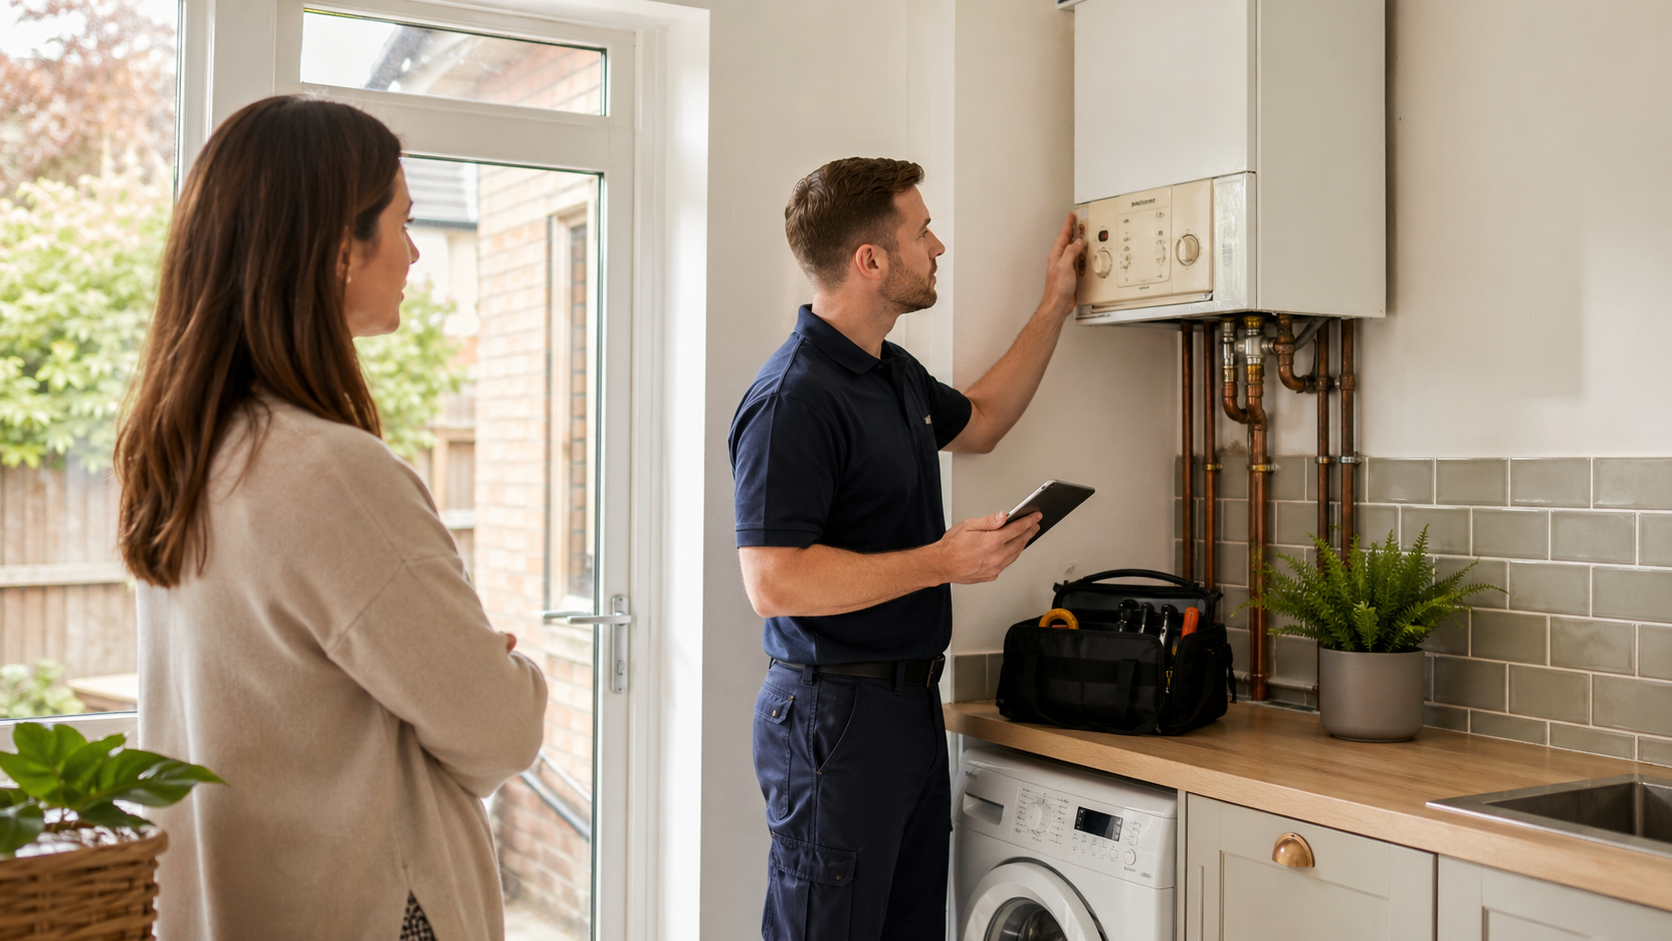
Step 3: Get a Professional Survey
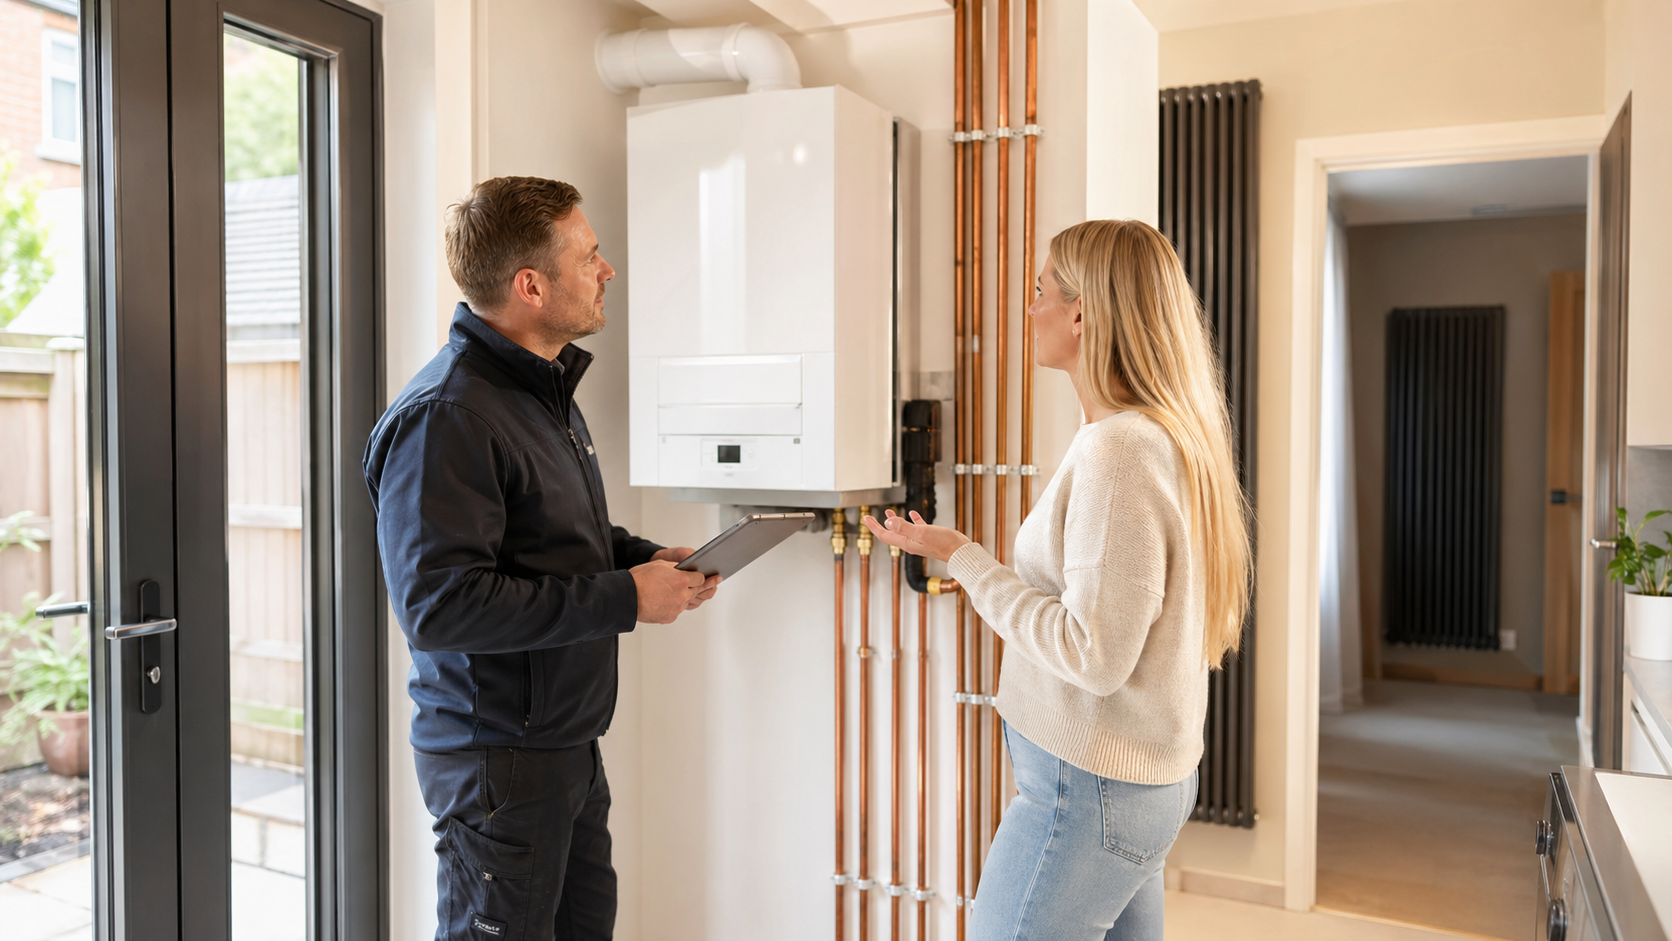
A proper survey should cover more than the boiler itself. The engineer should inspect pipe sizes, water pressure, flue route, condensate drain, radiator performance, controls, ventilation and the condition of the heating system. They should also check whether the gas supply is adequate for the new appliance.
This is the stage to ask practical questions. Can the new boiler stay in the same location? Will the flue need moving? Is the condensate pipe at risk of freezing? Will the installation require scaffolding, boxing-in work or changes to cupboards? A good survey prevents surprises and helps the quote reflect the real job.
Step 4: Prepare the Area Before Installation Day
You can also borrow details from renter-friendly decor hacks when you are refining the final look.
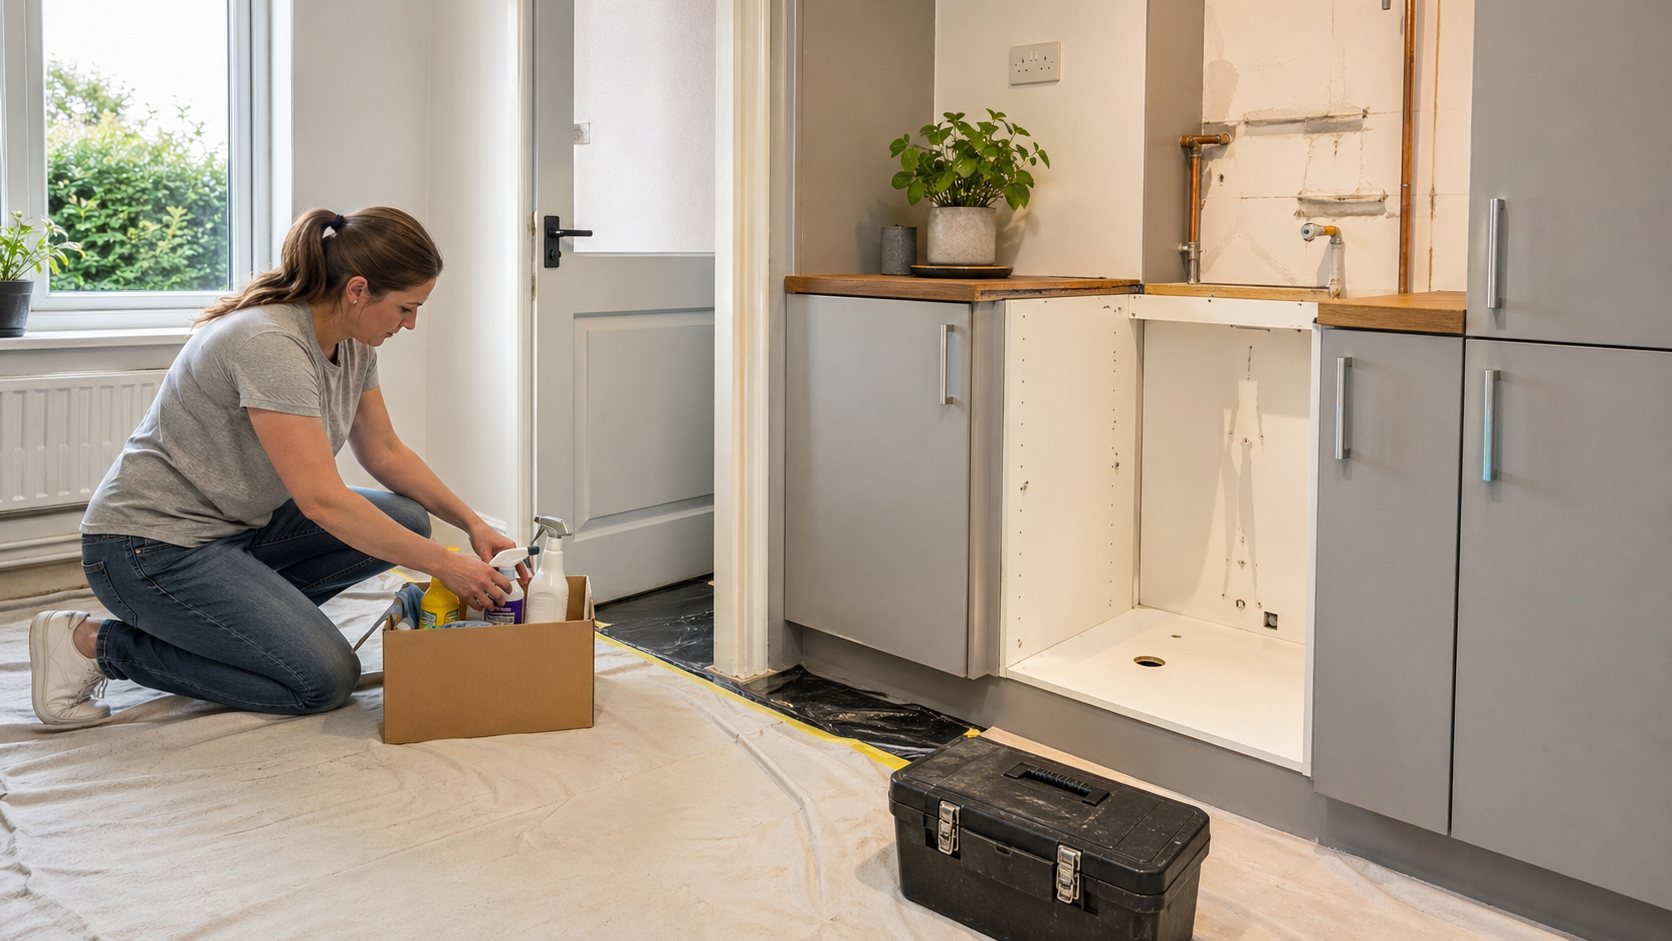
Once the date is booked, clear the boiler area and give the engineer easy access to radiators, the airing cupboard, the loft hatch, the stop tap and the consumer unit if needed. Move fragile items, protect nearby surfaces and make sure pets and children can stay away from the work area.
If the boiler is in a kitchen cupboard, remove stored items beforehand. If access is tight, ask whether panels, shelves or boxing need to be removed. Small preparations save time and help the installer work safely.
Step 5: Remove the Old Boiler Safely
The engineer will isolate the appliance, drain relevant parts of the heating system and disconnect the old boiler. This stage may involve removing the flue, pipe connections and electrical controls. It is also the point where hidden issues sometimes appear, such as corroded pipework, poor water quality or old fittings that need replacing.
Homeowners should not attempt to disconnect gas appliances themselves. Even if a job looks simple from the outside, incorrect isolation or reconnection can create serious risks, including gas leaks, carbon monoxide exposure and damage to the appliance.
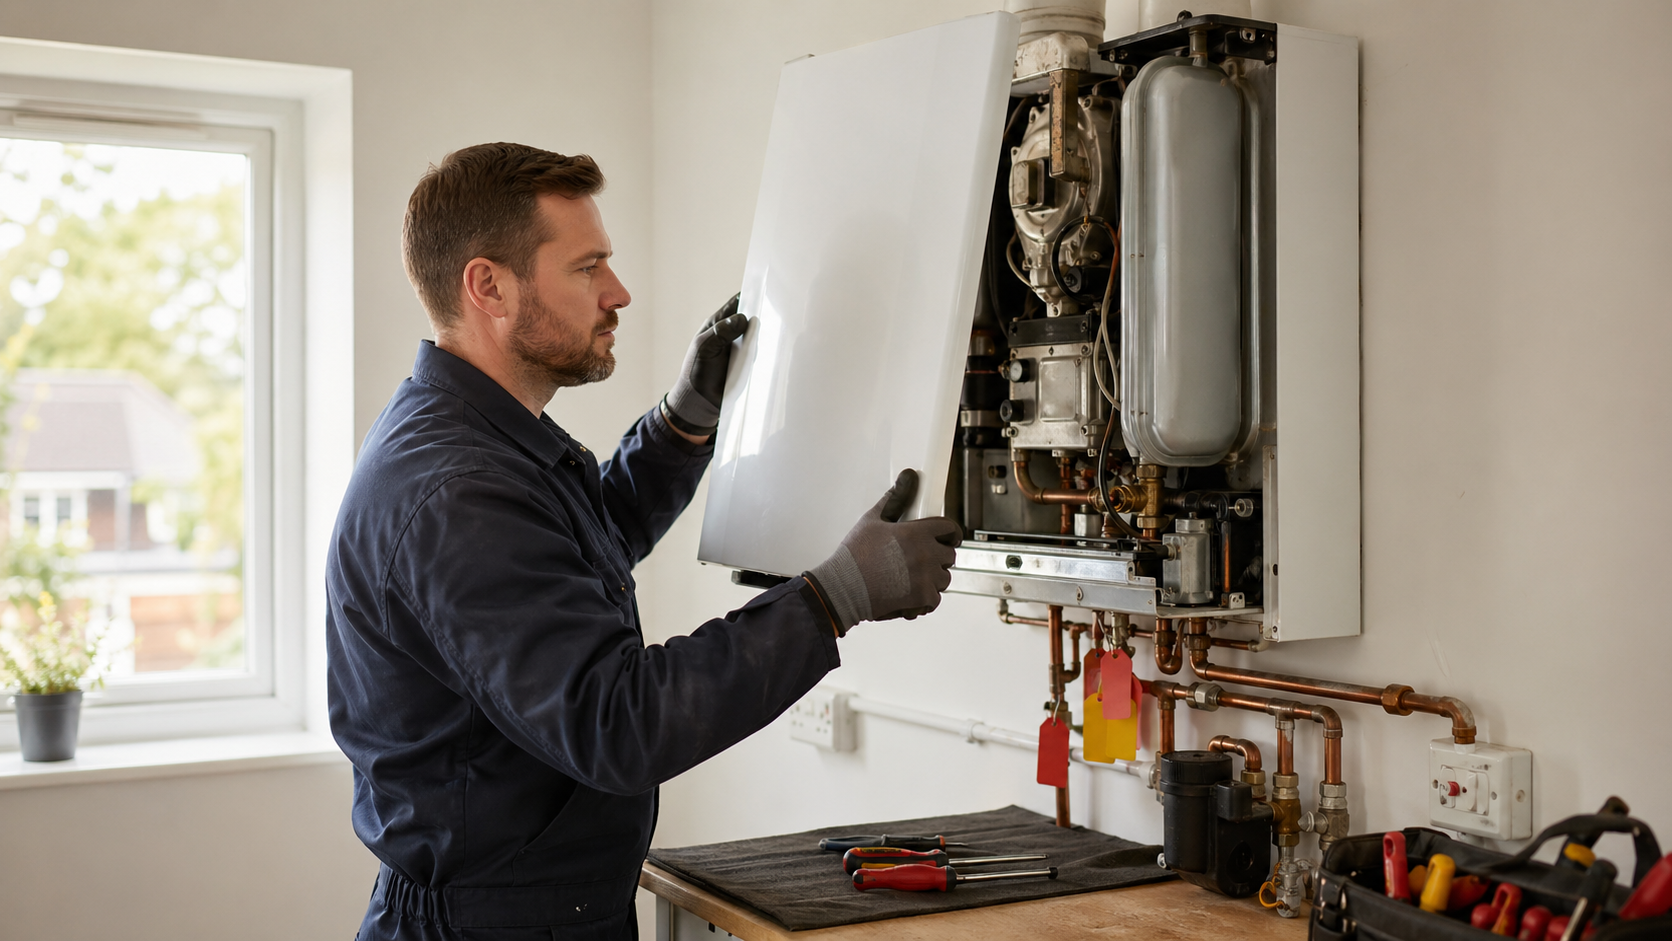
Step 6: Fit the New Boiler and Required Components
For a related idea you can adapt in the same space, see small laundry room ideas.
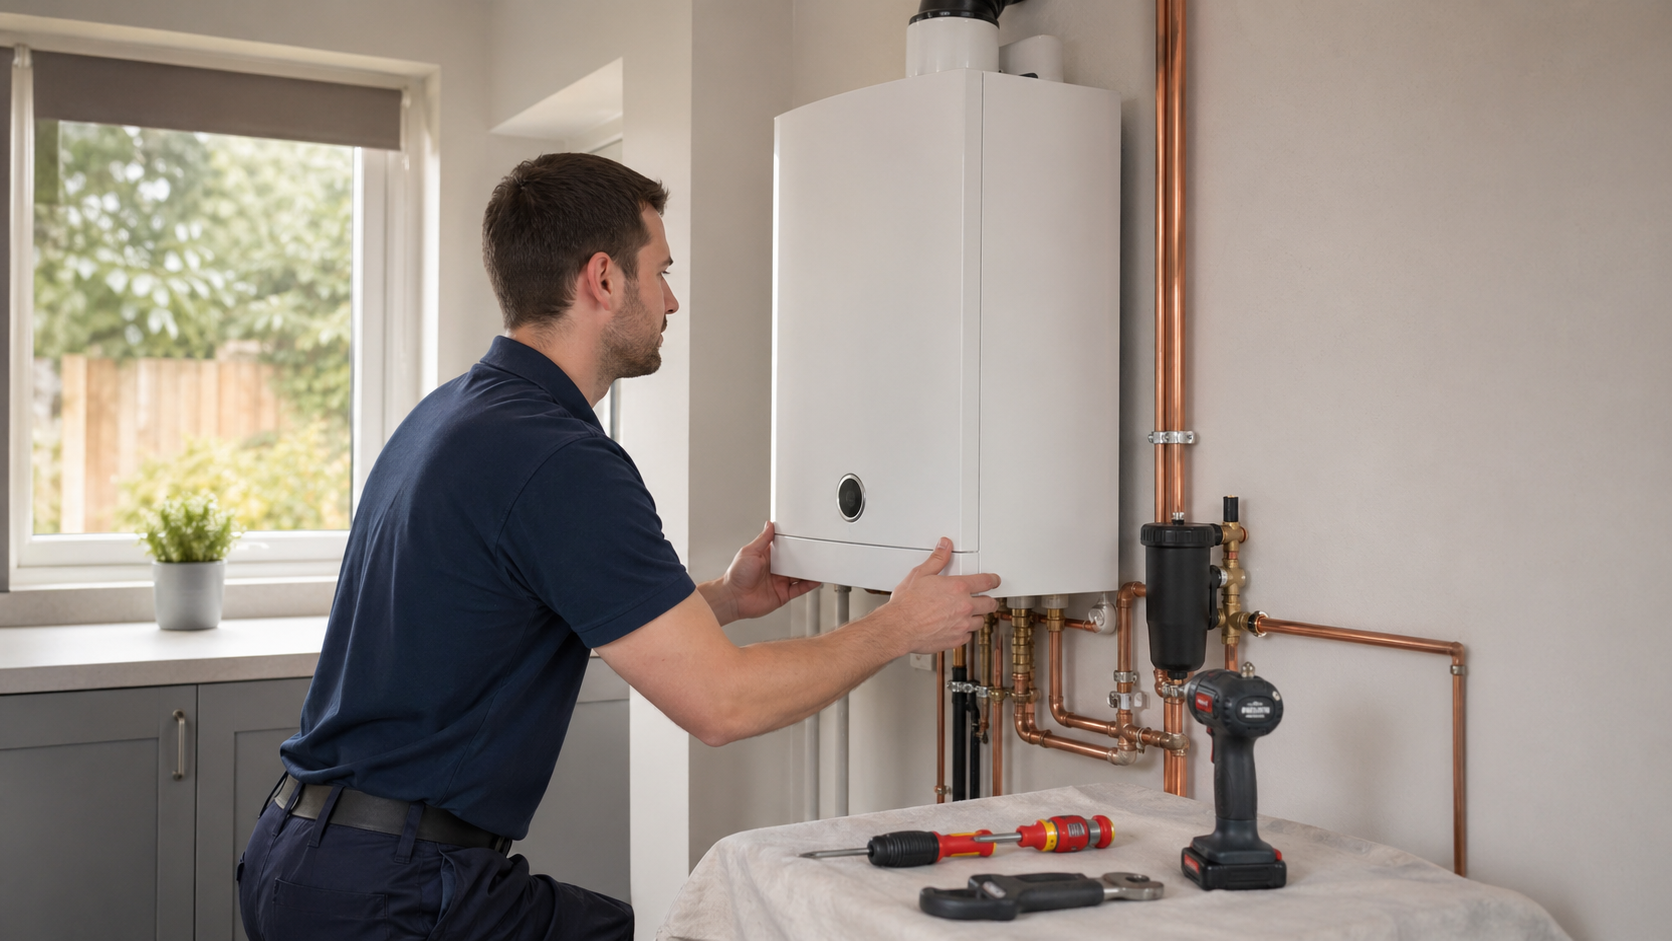
The new boiler is mounted securely, connected to the heating pipework, hot water supply, gas or fuel supply, condensate drain, flue and electrical controls. Depending on the system, the engineer may also fit a magnetic filter, scale reducer, new thermostat, programmer, smart controls or updated valves.
The flue must be installed exactly to the manufacturer’s instructions, with the correct clearances from windows, doors, boundaries and neighbouring properties. The condensate pipe also needs careful routing so it drains properly and is protected where it runs outside. These details may seem small, but they are essential for reliability and compliance.
Step 7: Flush, Test and Commission the System
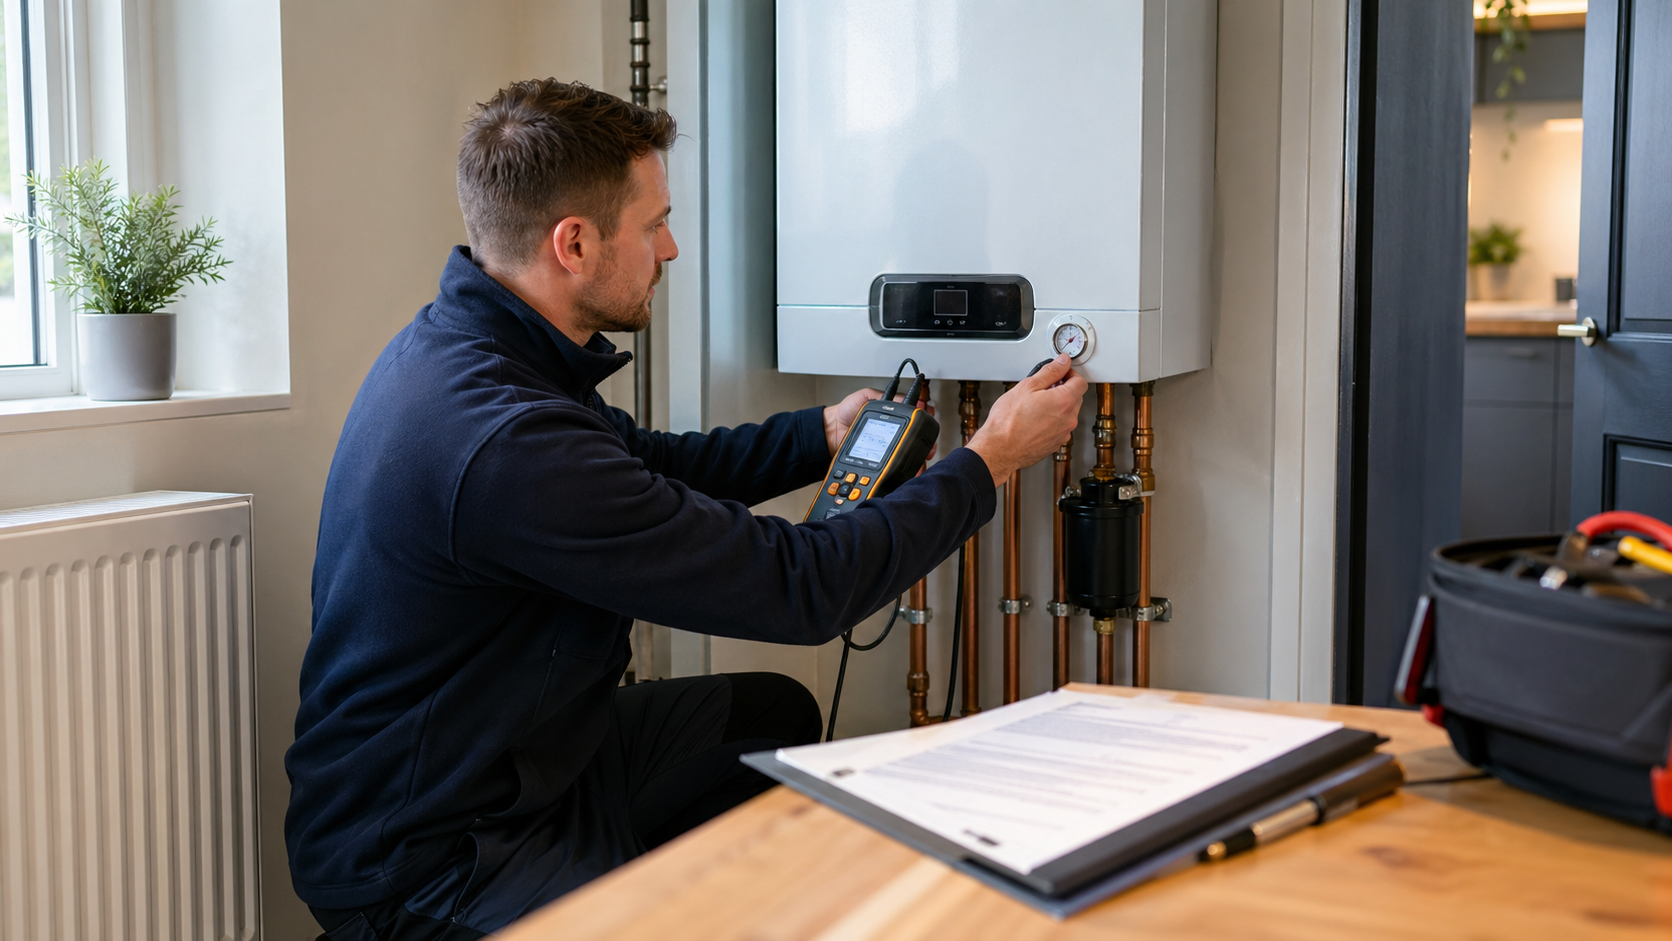
After installation, the heating system should be cleaned or flushed as required. This helps remove sludge, debris and installation residue that could damage the new boiler. Inhibitor is normally added to protect against corrosion, and the engineer may record water treatment details for the warranty.
Commissioning is the formal setup and safety check. The engineer tests gas pressure, burner operation, flue gases, seals, controls, hot water performance, radiator circulation and safety devices. They should also check for leaks and confirm that the system heats properly. This step is what turns a fitted boiler into a safe, working installation.
Step 8: Register the Warranty and Understand the Controls
A useful next read is new kitchen faucet installation if you want another angle on this part of the project.
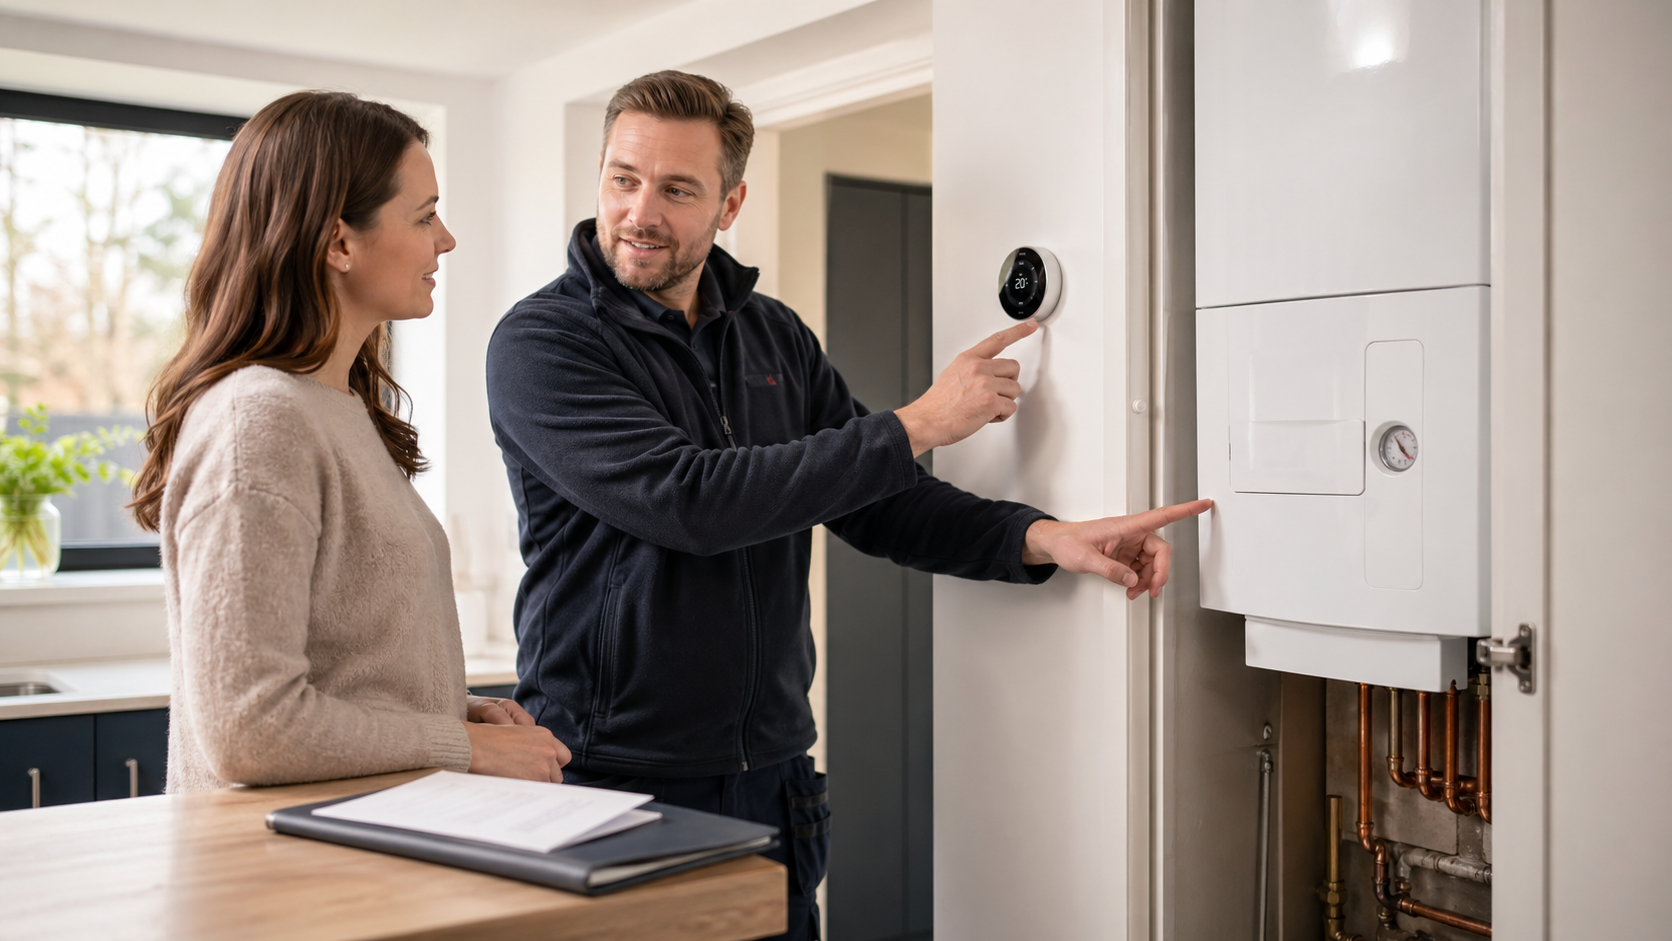
Before the engineer leaves, ask them to explain the controls, pressure gauge, thermostat, timer, filling loop and any error codes you should know. You should receive the benchmark or commissioning paperwork, Gas Safe notification where applicable, warranty details and service requirements.
Most boiler warranties require annual servicing by a qualified engineer. Keep the documents, note the installation date and set a reminder for the first service. A new boiler is a significant investment, and regular servicing protects performance, efficiency and warranty cover.
Final Thoughts

Fitting a new boiler is best thought of as a managed professional project rather than a weekend DIY task. Your role is to choose the right appliance, prepare the home, understand the process and keep the system maintained afterwards. The engineer’s role is to carry out the technical installation safely, legally and in line with the manufacturer’s instructions.
With the right survey, careful preparation and proper commissioning, a new boiler can deliver dependable heating and hot water for many years. Take the time to plan the job well, use a qualified installer and keep the paperwork safe. Those simple habits make the whole process easier from the first quote to the first warm evening with the new system running quietly in the background.