
Open kitchen shelves look effortless when they are finished, but the best ones are quietly edited, practical, and just a little bit personal. If yours currently feel more like a storage spill than a design moment, this seven-step process will help you style open kitchen shelves that look intentional without turning your everyday dishes into museum pieces.
The goal is balance: shelves that photograph beautifully, work on a Tuesday morning, and still leave room for the mug you actually use. Think warm ceramics, a tight color palette, useful stacks, a few textured pieces, and enough breathing room to let everything feel calm.
It also helps to treat the shelves as part of the room, not a separate styling project. Look at your cabinet color, worktops, hardware, flooring, and the light that hits the kitchen during the day. Your shelves should echo those details in small ways, so the final result feels collected instead of staged five minutes before guests arrive.
Step 1: Edit What You Own
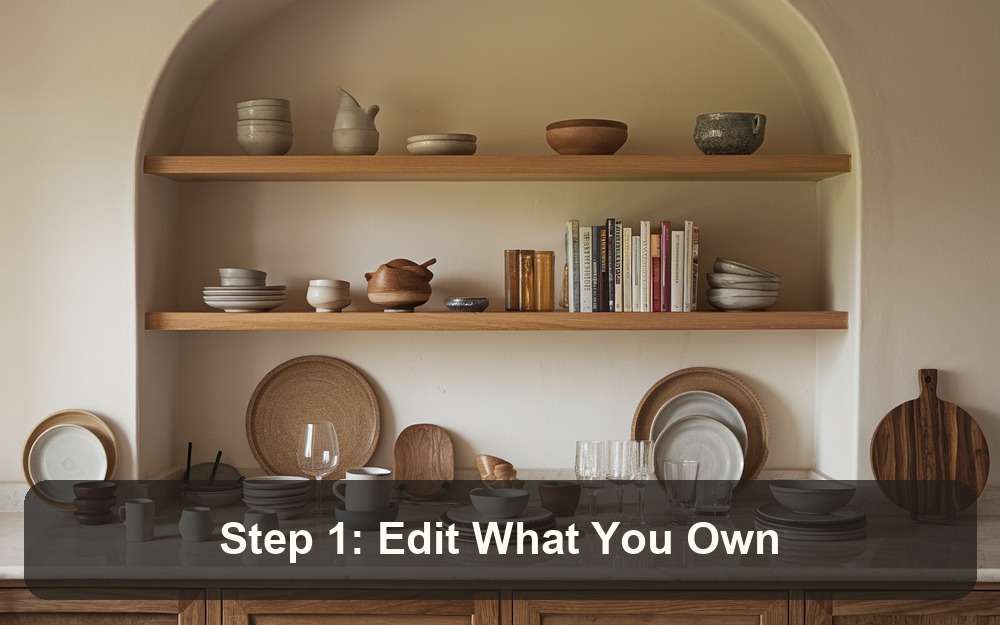
Before you style anything, take everything off the shelves. Yes, everything. It is much easier to make good choices when you can see your plates, bowls, glasses, cookbooks, jars, and decorative pieces in one place.
If you are planning a wider refresh, pantry organization hacks is worth keeping open alongside this guide.
- Keep the pieces you use often and genuinely like looking at.
- Remove chipped, duplicate, or visually noisy items.
- Group similar pieces together so you can spot useful sets.
This is also where you decide what the shelves need to do. If they sit beside the hob, practical items should win. If they are more decorative, you can give art, vases, and small seasonal touches a little more space.
Step 2: Choose A Tight Palette
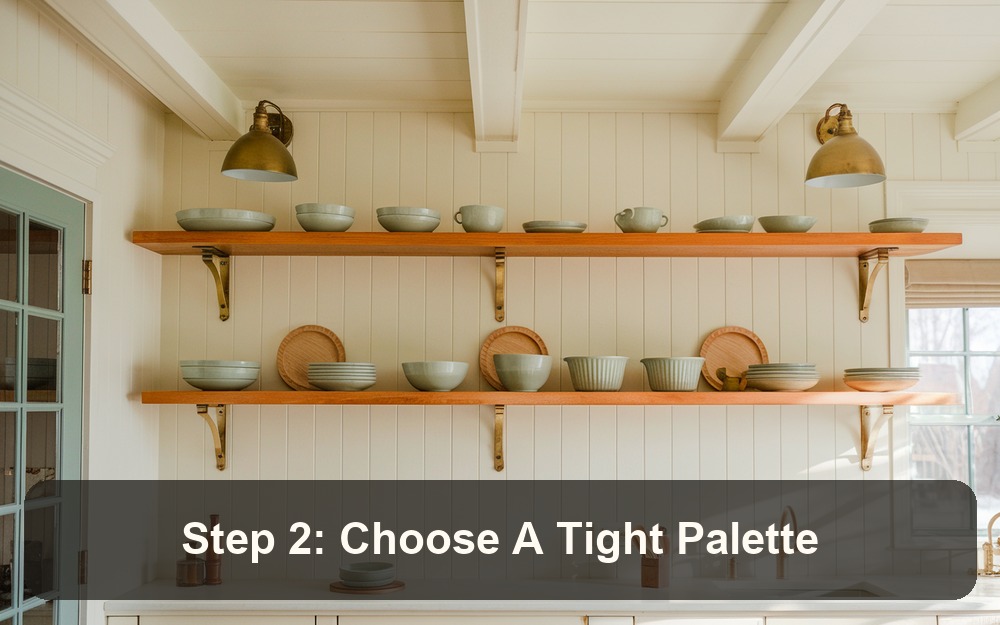
Open shelving exposes a lot of small objects at once, so color discipline matters. You do not need everything to match, but you do need a point of view. Pick two main colors and one accent, then let texture do the heavy lifting.
A reliable formula is warm white, natural wood, and one muted accent such as sage, terracotta, ink blue, or soft black. If you love richer rooms, borrow ideas from these luxury home color schemes and use the boldest tone sparingly.
Once the palette is chosen, be quite strict for the first pass. Put anything outside the palette to one side, style the shelves, then bring back one or two wild cards only if the room needs them. This keeps personality in the mix without letting every souvenir, patterned mug, and impulse-buy bowl argue at once.
You can also borrow details from kitchen island ideas when you are refining the final look.
Step 3: Anchor With Everyday Pieces
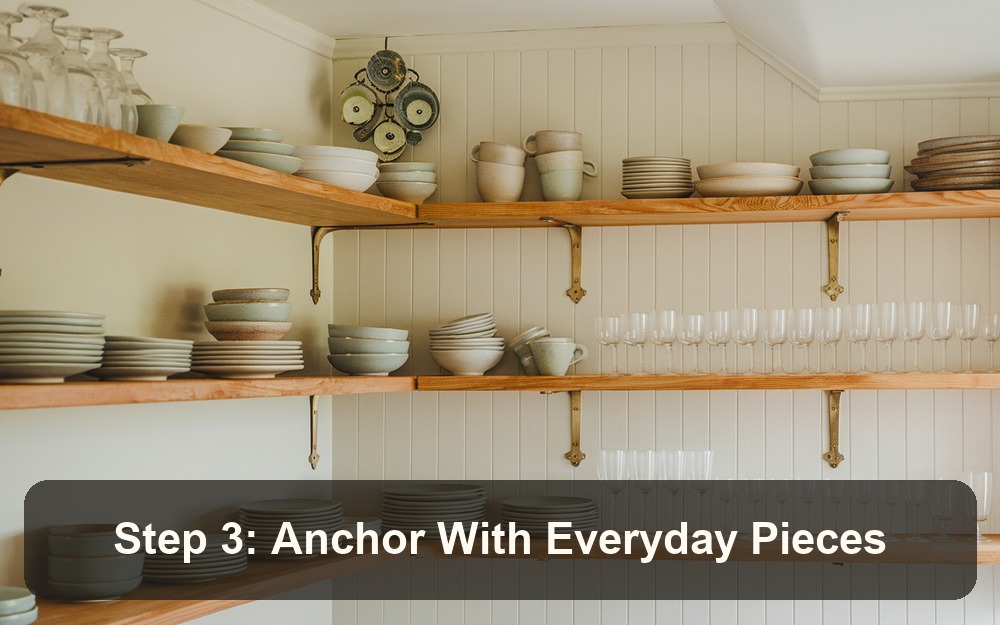
The most convincing shelves start with the basics: plates, bowls, mugs, and glasses. Stack plates in twos or threes, line up glasses in a short row, and keep mugs close to the coffee or kettle zone if the layout allows it. Practical styling always looks more natural than decoration pretending to be useful.
If your shelves are newly installed or you are still planning the structure, the site’s guide to DIY floating kitchen shelves is a helpful companion before you start loading them up.
Step 4: Mix Height And Shape
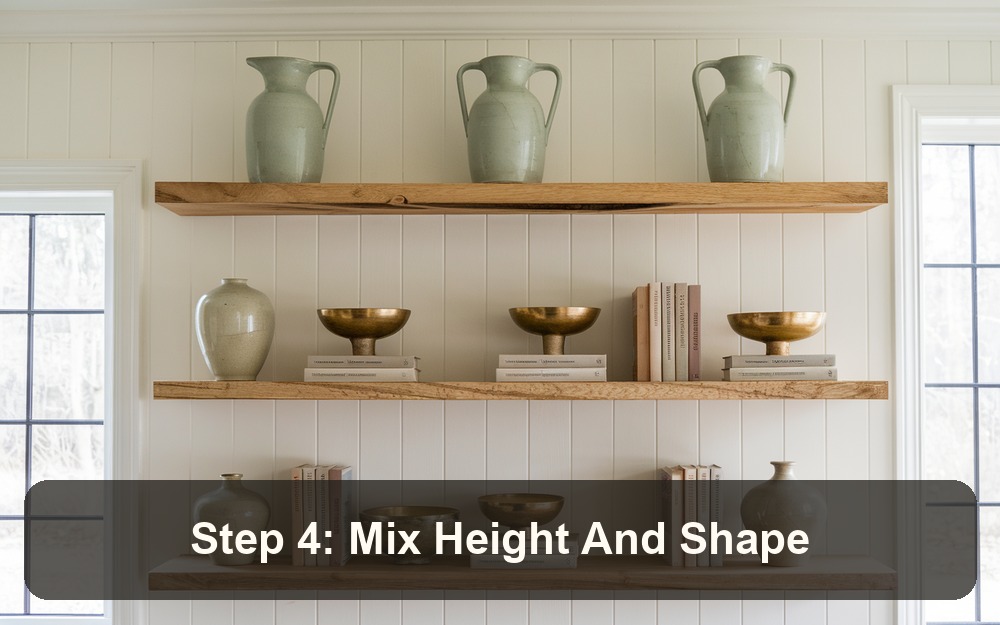
Flat stacks alone can make shelves feel heavy. Add height with a pitcher, vase, framed print, tall jar, or upright cookbook. Then soften the lines with round bowls, curved mugs, and small sculptural pieces. Your eye should travel across the shelves instead of stopping at one crowded clump.
- Place taller pieces near the ends or slightly off center.
- Use low bowls or stacks beneath them for balance.
- Repeat one material, such as ceramic or wood, in several spots.
For more layout inspiration beyond the kitchen, these creative bookshelf styling ideas translate surprisingly well to open shelves.
A good styling trick is to build loose triangles. For example, place a tall pitcher on the left of the top shelf, a medium vase on the right of the middle shelf, and a small plant lower down. The repeated rise and fall makes the arrangement feel designed, even when the pieces themselves are simple and affordable.
Step 5: Add Texture And Warmth
For a related idea you can adapt in the same space, see kitchen backsplash ideas.
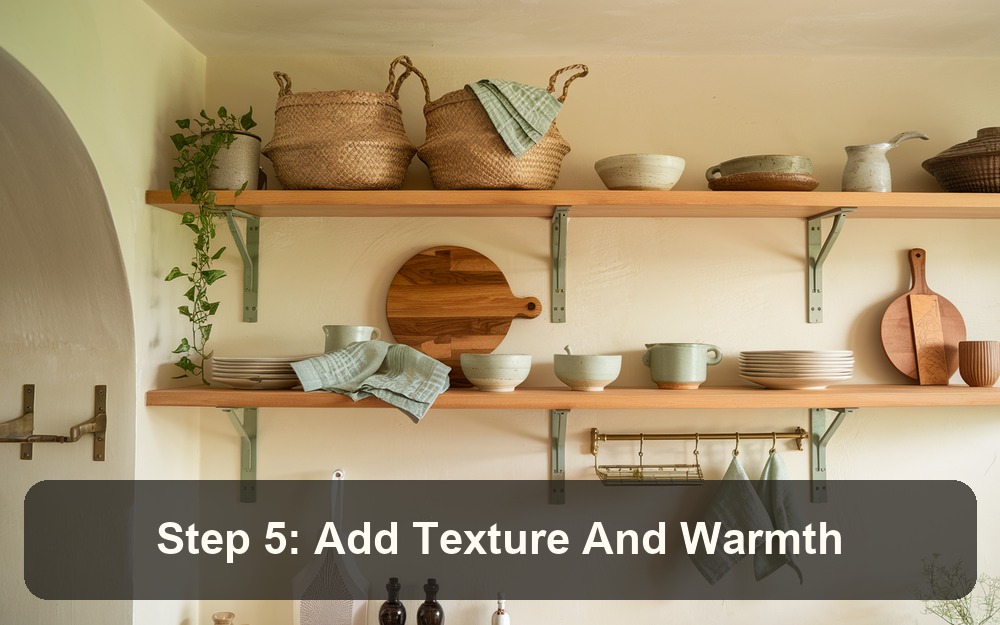
Texture is what keeps open shelves from feeling showroom-flat. A woven basket, linen napkins, a wooden board, handmade pottery, or a small trailing plant can warm up even a very simple white kitchen. The trick is restraint: one basket, one plant, one wood moment. Not a full craft fair.
If you want the shelves to change with the seasons, keep a small rotating spot for greenery, flowers, or a candle. These simple spring decor ideas are useful when you want a fresh update without reworking the whole room.
Step 6: Leave Breathing Room
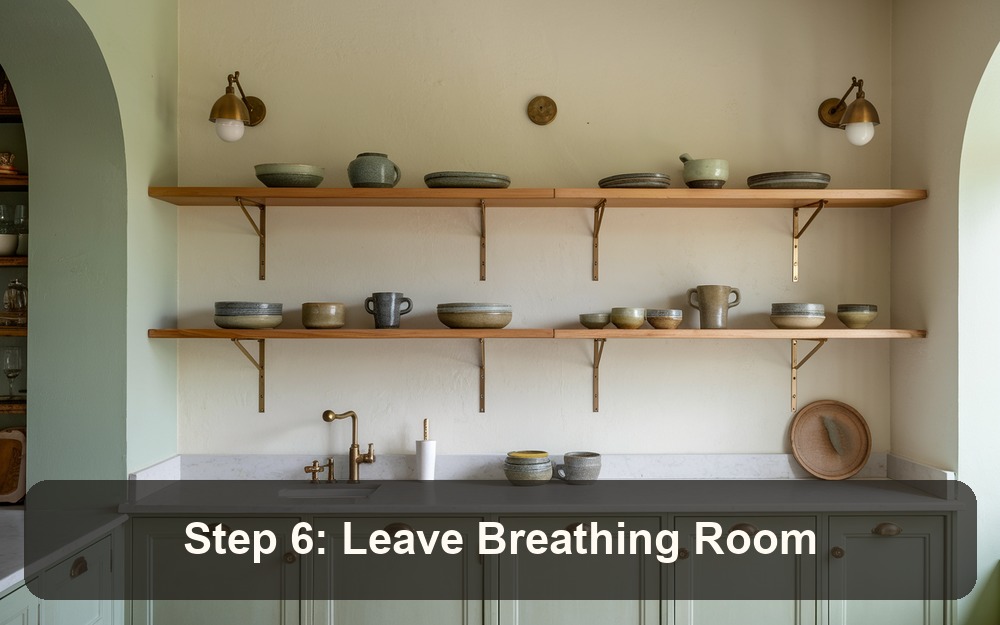
The fastest way to make open shelves look expensive is to leave some empty space. Negative space gives your favorite pieces room to register, and it makes the whole kitchen feel calmer. If every inch is full, even beautiful objects start competing.
As a simple test, step back and squint. If the shelves read as one busy stripe, remove two or three pieces. If they look bare, add one functional stack or a single warm texture. The sweet spot is edited, not empty.
Breathing room also makes maintenance easier. Open shelves collect dust faster than closed cabinets, and crowded shelves make cleaning feel like a tiny furniture move. Fewer, better-chosen pieces mean you are more likely to keep the look fresh instead of slowly abandoning the whole idea.
A useful next read is DIY floating kitchen shelves if you want another angle on this part of the project.
Step 7: Fine Tune The Final View
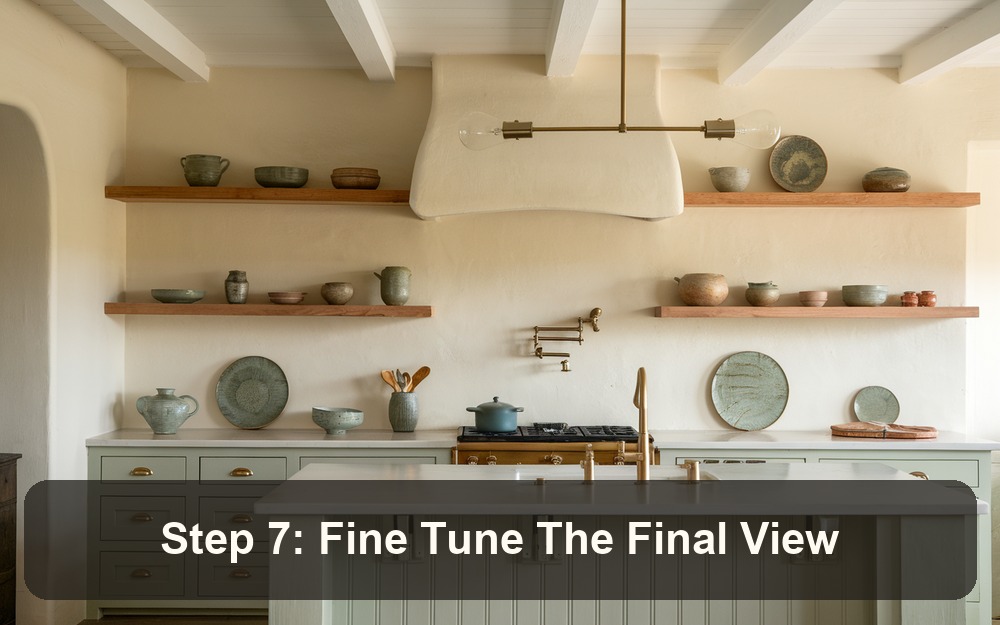
Once everything is in place, check the shelves from the doorway, the dining table, and wherever you usually see the kitchen first. Move the heaviest-looking pieces lower, repeat your accent color at least twice, and make sure the items you use daily are still easy to reach.
- Wipe shelf surfaces before putting everything back.
- Keep glassware away from greasy cooking zones where possible.
- Use museum putty for light decorative pieces if shelves are bumped often.
For broader kitchen inspiration, pair this shelf styling process with modern farmhouse kitchen ideas or these stylish kitchen island ideas. For practical safety guidance on shelves and storage loads, see the Family Handyman guide to hanging shelves. For a deeper design read, Better Homes & Gardens’ open shelving ideas are worth browsing too.
Final Thoughts
Styling open kitchen shelves is less about buying new things and more about editing, grouping, and letting your best everyday pieces breathe. Start with what you own, tighten the palette, add texture in small doses, and keep checking the view from across the room. When the shelves feel useful and good-looking, you have landed in exactly the right place.
And remember, the best shelf styling is allowed to evolve. Swap a cookbook, move a vase, tuck in a small bunch of herbs, or simplify the whole thing after a busy week. When the foundation is solid, tiny changes are enough to make the kitchen feel refreshed.